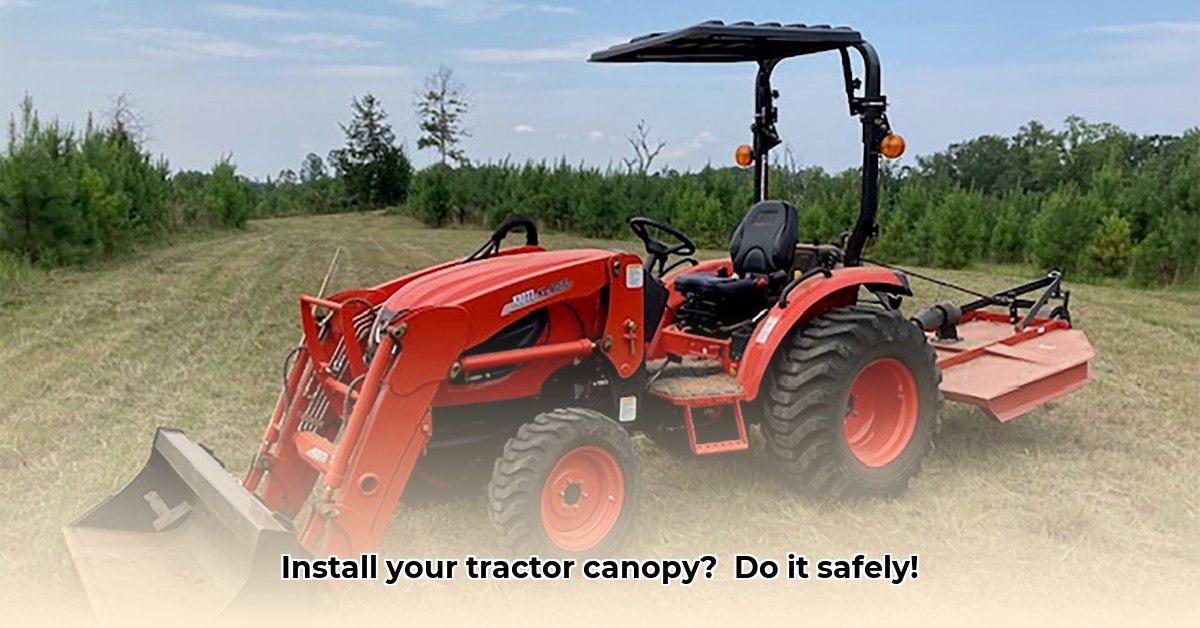
Understanding Your ROPS Canopy and Tractor
Before beginning installation, familiarize yourself with your specific ROPS (Rollover Protective Structure) canopy and your tractor. Carefully review the manufacturer's instructions provided with your canopy; this guide offers general steps, but your manual contains model-specific details. Identify the canopy frame components, mounting brackets, and all the necessary hardware (nuts, bolts, washers). Understanding these parts is crucial for a successful and safe installation. Properly understanding your equipment can significantly reduce installation time and potential errors. Is it safe to assume that most ROPS canopies share a similar basic design? For more detailed DIY plans, check out these helpful resources.
Safety Precautions: Prioritizing Your Well-being
Safety is paramount. Before starting any work, follow these essential steps:
- Secure the Tractor: Engage the parking brake firmly and ensure the tractor's ignition is completely off. This prevents accidental movement during installation. Failing to do this could lead to serious injury.
- Gather Your Tools: Prepare all necessary tools beforehand, including wrenches (various sizes), sockets, screwdrivers (Phillips and flathead), a level (for accurate alignment), and potentially a drill (depending on your canopy's design). Having everything ready streamlines the process.
- Clear the Work Area: Remove any obstacles (rocks, tools, debris, etc.) from around the tractor to prevent tripping hazards or accidental damage. Ensuring a clear work area minimizes the risk of accidents.
- Consider Extra Help: For larger or more complex canopies, having a helper is highly recommended. An extra pair of hands makes installation substantially easier and safer. Does having an assistant improve installation speed and accuracy?
Step-by-Step ROPS Canopy Installation
These instructions offer general guidance; always consult your canopy's specific instructions for precise details.
- Mounting Bracket Attachment: Carefully align the mounting brackets with your tractor's ROPS. Accurate alignment is critical for a secure and stable canopy. Ensure a snug fit before tightening any fasteners.
- Canopy Frame Positioning: Gently lift and position the canopy frame onto the mounted brackets. Take your time to ensure proper alignment with the brackets. Begin attaching the frame using the provided hardware.
- Fastener Tightening: Once everything is in place, carefully tighten all fasteners (bolts, nuts). Avoid over-tightening, which can strip threads or damage components. Tighten them securely but not excessively.
- Alignment Verification: After tightening, perform a visual inspection of the installed canopy. Confirm its level position, stability, and secure attachment. Address any misalignment immediately.
- Final Inspection: Before operating the tractor, conduct a thorough final inspection. Check all fasteners and look for potential hazards. Ensure the canopy is firmly secured before use.
ROPS Canopy Maintenance and Troubleshooting
Regular inspections are crucial for maintaining the canopy's integrity and ensuring operator safety. Periodically check for loose bolts, signs of rust or corrosion, and any damage. Address minor issues promptly to prevent them from escalating. For severe damage, seek professional assistance. How often should a routine inspection of your ROPS canopy be performed?
Is a ROPS Canopy the Right Choice for You?
Consider these advantages and disadvantages before deciding:
Pros:
- Significantly enhanced operator safety
- Protection from sun, rain, and debris
- Increased comfort during prolonged operation
- Potential increase in tractor value
Cons:
- May slightly reduce visibility from certain angles
- Adds to the tractor's overall height
- Could sustain damage in severe weather
- Slightly increases tractor weight
A properly installed ROPS canopy offers substantial safety benefits. If you have any doubts or concerns, consult a professional. Your safety is worth the investment.
Key Takeaways:
- Safety First: Always prioritize safety by securing the tractor and gathering the necessary tools.
- Precise Installation: Follow the manufacturer's instructions meticulously for a secure and stable canopy.
- Regular Maintenance: Conduct routine inspections to prevent minor issues from becoming major problems.
This guide provides a comprehensive overview of ROPS canopy installation and maintenance. By following these steps and prioritizing safety, you can significantly enhance your farming experience. Remember to always consult your equipment's specific manuals for detailed instructions.